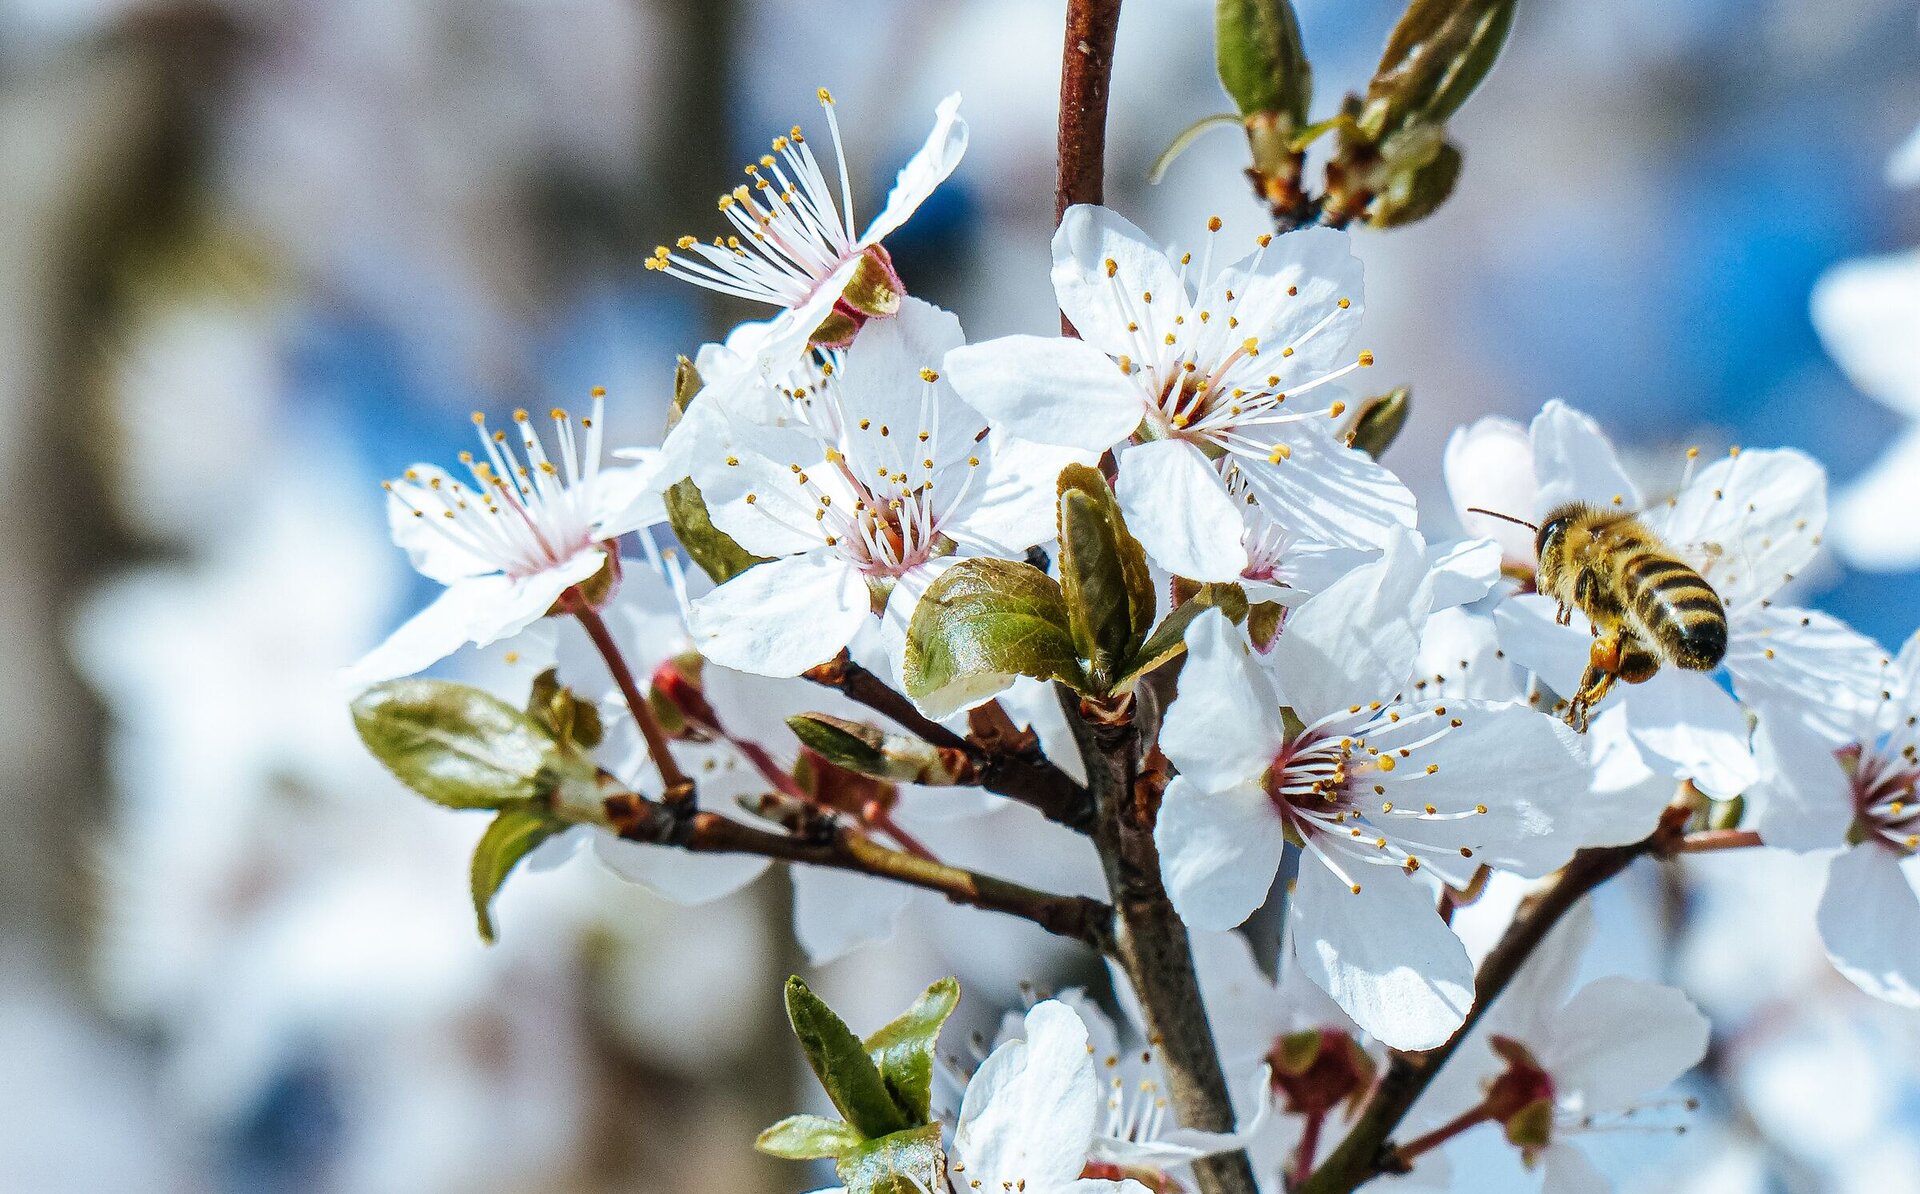
Beeswax candles make wonderful homemade gifts. Did you know that burning beeswax produces negative ions that circulate in the room and attract pollutants and clean your air? Unlike paraffin wax candles that pollute the air. Many people report that burning a beeswax candle in their bedroom 30 minutes before falling asleep produces a more restful sleep.
I recommend you read all the instructions before starting to make the candles.
Ingredients
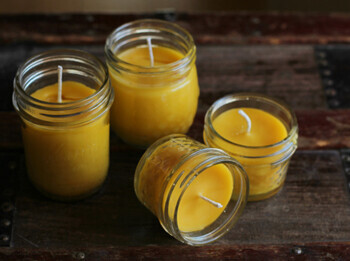
- Beeswax, I recommend starting with 500g of beeswax till you get the hang of it, this will fill around 4 smallish size jars. The recipe is very flexible though, the more beeswax you have the more jars you can fill.
- Wicks the height of the chosen jars, I purchase these from Candle Creations
- Glass jars
Equipment
- Dedicated steel container, such as a large can or old steel bowl, for melting the wax (it’s impossible to clean out afterwards so you don't want to use your good bowls!)
- Dedicated metal spoon
- Pot, bigger than the above container
- Ice-cream sticks, pegs or bamboo skewers and rubber bands
Method
1. Place the beeswax into your dedicated bowl/can and put this inside a pot half fulled with water. Simmer over medium-high heat, stirring occasionally as it melts. Caution: Beeswax is flammable so keep a close eye on it.

2. In the meantime, prepare your jars and wicks. It can be a bit tricky keeping the wick in the middle of the jar while you're pouring the wax in. Here's some tips you could try:
- Use pencils/pens, ice-cream sticks or bamboo skewers to hold the wick in place. You can wrap the wick around one stick/skewer or place the wick between 2 sticks/skewer and tie them together with rubber bands. Or place an ice-cream stick over the jar and use a peg on top to hold the wick in place.
- Dip the bottom of the wick into melted beeswax and push the disk of the wick onto the base of the jar firmly, or you could use a glue gun. Wait till it's set before pouring in wax.
- Hold the wick in place with strips of masking tap, I haven't tried this
- Or use a combination of these methods.
3. Pour the melted beeswax into the jar, leaving one inch of room at the top. Set the jars aside and allow them to cool and set completely. * This could take several hours but I recommend leaving overnight.
4. Trim the wick with sharp scissors and you're good to go!

You can also scent your candle wax between the wax melting and pouring the candle. Essential oils don't like high heat so the scent may not be strong. Try adding 2-4 teaspoons of oil to 500g of beeswax. I'm planning on making citronella candles to have on our outdoor table this summer.
* Note: Pure beeswax can sometime crack when the candle cools too quickly. So make sure they are sitting in a warm room or you could try putting the jar/s into a tray of warm water to allow for slower cooling. If you don't want to risk them cracking you could try adding 1/2 cup of coconut oil to the 500g beeswax melted beeswax and mix in until that is melted. If your candle does crack you can alway melt a little bit more wax and pour a thin layer on top of the original candle and leave to harden.